How to Create an Encounter using D&D Beyond’s My Encounters

# Comprehensive Guide to Creating an Encounter Using the My Encounters Feature of DNDBeyond.com
Creating memorable encounters is a crucial part of being a Dungeon Master (DM) in Dungeons & Dragons (D&D). Whether you’re planning a thrilling battle, an intriguing social interaction, or a challenging puzzle, the My Encounters feature on DNDBeyond.com offers a streamlined way to design and manage your encounters effectively. This guide will walk you through the entire process of using this feature, providing tips, examples, and best practices to help you craft encounters that engage and excite your players.
## Understanding My Encounters Feature
### What is My Encounters?
My Encounters is a user-friendly feature on DNDBeyond that allows DMs to create, customize, and store encounters for their campaigns. It integrates seamlessly with the D&D ruleset and provides tools for tracking enemy stats, calculating challenge ratings, and managing combat flow. This feature can be invaluable, especially for DMs looking to streamline their session preparation.
### Key Features
– **Encounter Creation**: Easily build encounters from scratch or modify existing ones.
– **Creature Database**: Access a vast library of D&D creatures, including stat blocks and lore.
– **Challenge Rating Calculation**: Automatically calculate the overall challenge rating of your encounter based on the creatures and player levels.
– **Session Tracking**: Keep track of initiative, hit points, and conditions during gameplay.
– **Storage and Organization**: Save and categorize encounters for quick reference during sessions.
## Step 1: Setting Up Your DNDBeyond Account
Before you can start creating encounters, you need to set up your DNDBeyond account.
### Creating an Account
1. **Visit DNDBeyond.com**: Navigate to the website and click on “Sign Up” in the upper right corner.
2. **Fill in Required Information**: Provide your email address, create a password, and complete any verification steps.
3. **Explore the Interface**: Familiarize yourself with the dashboard and available features, including the My Encounters tool.
## Step 2: Accessing the My Encounters Feature
Once your account is set up, you can access the My Encounters feature.
### Navigation Steps
1. **Log In**: Enter your credentials to access your account.
2. **Go to the My Encounters Page**: Click on “My Encounters” from the main menu or your dashboard.
3. **Create a New Encounter**: Click on the “Create Encounter” button to start building.
## Step 3: Designing Your Encounter
When creating an encounter, consider its purpose and the context within your campaign. Here are the essential components to think about:
### Purpose of the Encounter
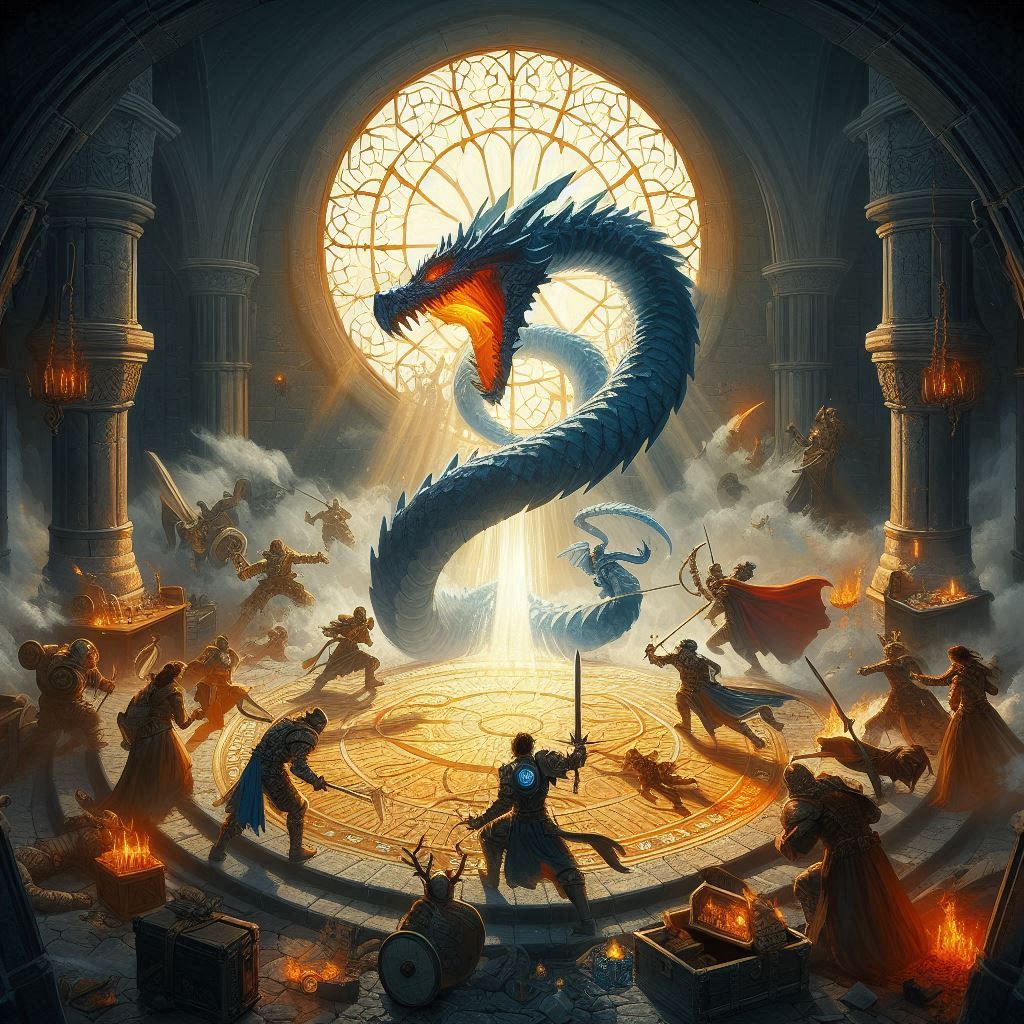
– **Combat Encounter**: A battle against monsters or adversaries.
– **Social Encounter**: Interaction with NPCs or groups that may require negotiation, deception, or persuasion.
– **Puzzle Encounter**: A challenge that requires players to think critically or solve a riddle.
### Setting and Theme
1. **Environment**: Choose a location that enhances the encounter’s theme—this could be a dark forest, a bustling tavern, or a crumbling dungeon.
2. **Atmosphere**: Consider the mood you want to evoke. Is it tense and foreboding, or light-hearted and whimsical?
### Encounter Difficulty
Determine the level of challenge appropriate for your party. Factors to consider include:
– **Party Level**: The average level of your players’ characters.
– **Party Composition**: The roles and abilities of each character (e.g., melee fighters, spellcasters).
– **Creature Challenge Ratings**: Ensure that the creatures you select provide a balanced challenge. DNDBeyond provides a tool to help calculate the overall challenge rating of your encounter.
### Example Scenario
Let’s say you want to create a combat encounter in a haunted forest. You envision a group of players facing off against undead creatures while navigating difficult terrain. The atmosphere is eerie, with unsettling sounds and ghostly apparitions.
## Step 4: Selecting Creatures for Your Encounter
Once you have a clear idea of your encounter’s purpose, setting, and difficulty, it’s time to select the creatures or NPCs involved.
### Using the Creature Database
1. **Search for Creatures**: Utilize the search bar within My Encounters to find specific monsters or browse through categories (e.g., undead, beasts, humanoids).
2. **Review Stat Blocks**: Each creature has a detailed stat block that includes hit points, abilities, actions, and special traits.
3. **Select Creatures**: Choose creatures that fit your encounter’s theme and desired difficulty. For our haunted forest scenario, you might select:
– **Zombie**: A classic undead creature.
– **Ghost**: A spectral being that adds a haunting element.
– **Will-o’-Wisp**: A mischievous spirit that can lead players into danger.
### Considerations for Creature Selection
– **Variety**: Mix different types of creatures to create diverse combat scenarios.
– **Abilities and Traits**: Think about how each creature’s abilities can interact with the environment and with each other.
– **Role in Encounter**: Decide whether creatures will act as minions, leaders, or environmental hazards.
## Step 5: Customizing the Encounter
Now that you’ve selected your creatures, you can customize various aspects of the encounter.
### Encounter Details
1. **Name Your Encounter**: Give your encounter a descriptive name that captures its essence (e.g., “The Haunting in Eldergrove”).
2. **Set Encounter Difficulty**: Use the challenge rating calculator to ensure that your encounter is balanced based on the selected creatures and party level.
### Additional Elements
– **Environmental Hazards**: Consider adding terrain features like difficult terrain, traps, or magical effects that enhance the challenge.
– **Objectives**: Decide if there are specific goals for the players beyond defeating enemies (e.g., retrieving a magical item, rescuing a captive).
– **NPC Involvement**: If applicable, introduce NPCs who can assist or hinder the players, adding depth to the encounter.
### Example Customization
For our haunted forest encounter, you might add:
– **Difficult Terrain**: Thick underbrush that imposes movement penalties.
– **Objective**: Players must destroy a cursed totem to weaken the undead.
– **Special Ability**: The Ghost can possess a player character, causing chaos.
## Step 6: Managing Combat and Tracking
During gameplay, managing combat flow is essential. My Encounters provides tools to help you keep track of everything.
### Initiative Tracking
1. **Initiative Order**: Once combat begins, roll initiative for all creatures and players. Enter these values into the initiative tracker on My Encounters.
2. **Combat Flow**: Proceed through rounds, allowing each participant to take their turn according to initiative order.
### Hit Points and Conditions
– **Tracking Hit Points**: Update hit points for each creature as damage is taken. My Encounters allows you to do this in real time.
– **Conditions**: Note any conditions affecting creatures (e.g., stunned, frightened) and apply their effects as needed.
### Example Combat Flow
In our haunted forest encounter:
1. **Initiative Roll**: Players roll and enter initiative.
2. **Turn Order**: Play proceeds based on initiative, with players strategizing against the undead.
3. **Hit Point Management**: Keep track of damage to each creature as combat unfolds.
## Step 7: Post-Encounter Wrap-Up
After the encounter concludes, it’s important to provide closure and rewards for your players.
### Conclusion of the Encounter
– **Resolution**: Describe the outcome of the encounter. Did the players succeed in destroying the totem? Are there lingering undead to deal with?
– **Rewards**: Offer treasure, experience points, or narrative rewards that advance the story.
### Reflection
1. **Player Feedback**: Encourage players to share their thoughts on the encounter. What did they enjoy? What could be improved?
2. **Adjust for Future Encounters**: Use this feedback to refine your approach for future encounters, tailoring them to your group’s preferences.
## Example Wrap-Up
After defeating the undead in the haunted forest, the players successfully destroy the cursed totem, which causes the spirits to dissipate. They receive experience points and find a magical item hidden near the remains of the totem.
## Step 8: Saving and Organizing Your Encounters
Once your encounter is complete, save it within the My Encounters feature for easy access later.
### Saving Your Encounter
1. **Save and Name**: Click “Save” and give your encounter a clear, descriptive name for future reference.
2. **Categorization**: Organize encounters by type, setting, or difficulty level, making it easier to find them when needed.
### Future Use
1. **Review Saved Encounters**: Revisit your encounters for inspiration or to reuse them in future campaigns.
2. **Adapt and Modify**: Feel free to tweak encounters based on player progression or evolving storylines.
## Conclusion
Creating encounters using the My Encounters feature on DNDBeyond.com can elevate your D&D sessions, providing you with the tools to design engaging, balanced, and memorable experiences for your players. By following this guide, you’ll be equipped to craft diverse encounters that challenge your players while enhancing their immersion in the game.
Whether it’s a thrilling combat scenario, a complex social interaction, or a perplexing puzzle, the My Encounters feature offers everything you need to bring your creative ideas to life. Embrace the flexibility and power of this tool, and watch your campaigns flourish with exciting and dynamic encounters!
Happy DMing!


